


Over the last few days, I’ve shared recipes for a from-scratch ham, a smoked fried turkey, and a smoked pork crown roast. Now for the mother of all holiday meal centerpieces: the prime rib.
Aside from beef tenderloin, prime rib is usually the most expensive cut of beef you can buy. In the days before Christmas, they fill the cases of butcher shops and grocery stores, testament to their popularity for holiday meals.
While it’s easy enough to leave it whole—bones and all—and roast it in the oven, I wanted to see if I could improve it with a little knife work—and a smoker, of course.
This is an involved explanation, so here are the basics:
Remove the bones
Remove the spinalis, and cook separately if possible
Salt meat the night before
Smoke at 225 for 2 to 3 hours
Sear after resting
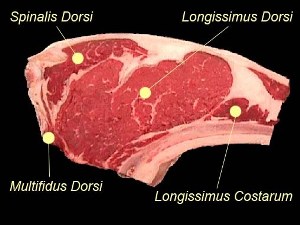
There are three main elements to a prime rib: the rib bone, the cap, and the eye. The cap, shown as the spinalis above, is one of the most tender and marbled muscles on the steer. It’s also the one most likely to overcook on the prime rib since it serves as the outer barrier taking the brunt of the heat.
The eye, also called the longissimus dorsi, is protected by both the bones and the spinalis. That’s why getting the eye to the perfect doneness isn’t a challenge, but it’s also why it’s hard to get a well-seasoned bite from the eye of the prime rib. There’s no exposed surface area to season. As for the rib meat, there’s not much hope in savoring the tough cut when it’s cooked to medium rare.
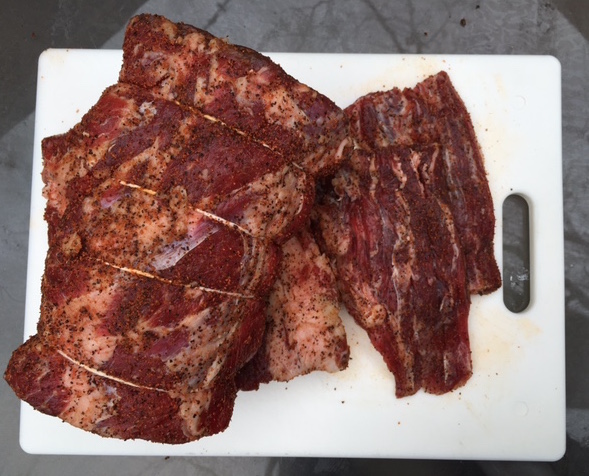
You can kill three birds with one stone by removing both the cap and the ribs from the eye, and treating them separately. The bones are easy enough to cut away, and most butcher shops will already have it cut off and tied back together, or they’ll happily cut it off if you ask. I prefer to do the cutting myself and leave a little meat on the bones, but more on that later. With just a little knife work, you can peel off the spinalis, and clean off the surface fat that remains on the eye (see video below). There’s also a bit of inedible silverskin that needs to be removed around the eye that you can’t get to unless the spinalis is out of the way. Cleaning the surface can be tedious, but I promise that it’s worth it.
Now that you’ve cut off the ribs, and cleaned up the cap and the eye, you’re ready to season. More than anything else I tell you here, this is the most important for great flavor through the meat: Salt it the day before you plan to cook it to allow some seasoning to migrate toward the center of the meat (save the other seasonings for the next day). A full day before is best, but even overnight makes a big difference. Salt it heavily, like a light snow has covered the the surface, then put it back in the refrigerator.
The next day you’re ready to smoke. Now is the time to add the other seasonings you prefer. Make a peppery rub (I used the last of my Meat Church Holy Cow rub on this pair), or just sprinkle on some salt—yes, even more, but a much lighter coating than the previous day—and pepper. If you’re worried about the salt, remember that much of the surface salt you applied before is now deeper into the muscle, and also take into account that each thin slice of beef won’t include a huge amount of the crust.
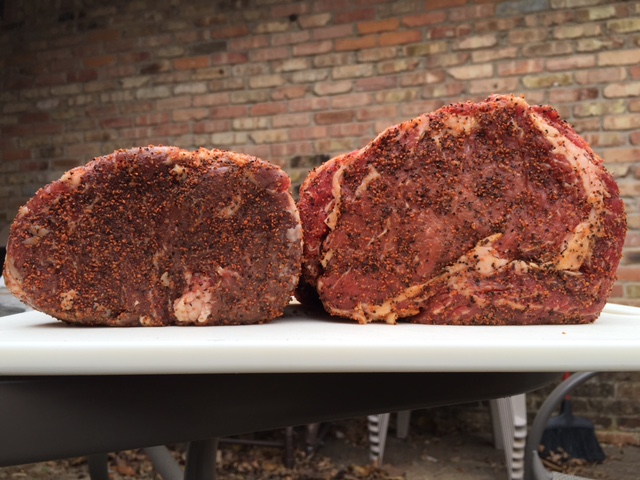
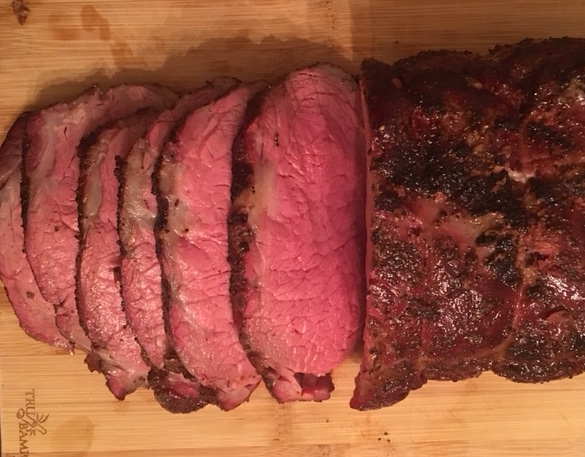
I followed the method from Amazingribs.com on the smoking (they also advise you to remove the bones), which is to aim for low and slow. The higher the heat, the more uneven the doneness will be. I loaded my offset smoker with oak and kept it steady at 225. I was in testing mode, so I had two prime ribs cooking. One where I left the spinalis on, and the other where I smoked just the eye. The larger one took three hours, almost on the dot. The eye took just two hours to smoke. You’re aiming for an internal temperature of 125. With carry-over cooking, and the final searing step, you’ll get to a perfect medium rare this way.
How long will it take if you leave the bones on? You’ll have to find that info elsewhere. I can’t stress enough how much better this prime rib will be without them. You’ll have the ability to season all sides of the prime rib and to tie it up into an even semi-circular shape. This makes for more bites of smoky, well seasoned beef, and even doneness.
As for the beef ribs, season them with your favorite beef rub, and put them right in the smoker too. They’ll take a whole lot longer than the prime rib, so start them early to have them ready for the dinner table, or you can cover them in foil and just finish them in a 35o degree oven during the meal. After a drawn-out dinner with family, they’ll be ready for snacking right about the time the dessert plates are cleared.

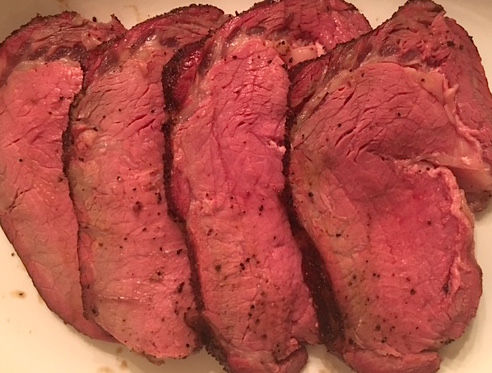
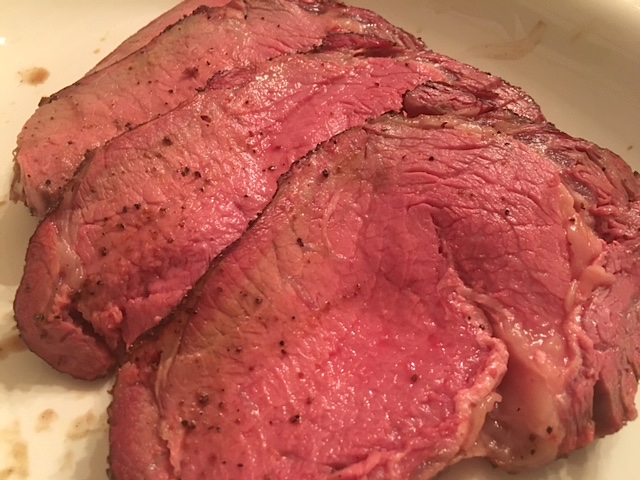
As for the prime rib, let it rest at least thirty minutes. Then sear it on both sides under your oven’s broiler or on the grill. It’ll be ready for slicing immediately after.
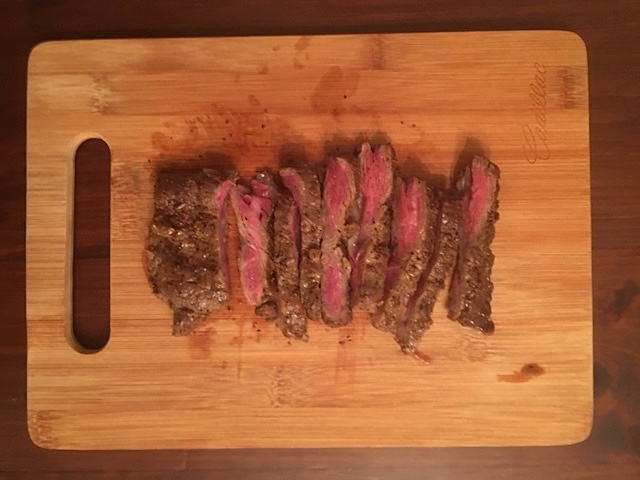
If you’ve chosen to remove the spinalis, then you have a bonus appetizer. It’s thin, so season it lightly and sear it on the grill or in a buttered cast iron skillet. It won’t take long to get it to medium rare. Slice it thin and pass it around to guests who are eagerly waiting for dinner. Just warn them that it might be the best bite they get all night.
This goes against everything I’ve written above, but you don’t need to overthink this. There’s no need to be intimidated by this expensive hunk of beef. It’s prime rib, and it’s going to be good. Don’t be afraid to a do a modest amount of butchery, season it heavily, smoke it slow, and don’t overcook it. Do that, and your family will love you. Break it down into three delectable courses, and you’ll be a hero.
- More About:
- BBQ Recipes


