


In fitting with the overall theme of this biweekly craft column, I am once again teaching you how to make something Texas-y that looks not that bad from far away. This time, it’s embroidery, a craft I decided to learn because I already had the supplies (embroidery floss, needles, and a hoop) from my ill-fated attempt to quickly cross-stitch. I’ll be adorning something that I think most Texans probably have in their closets: a denim shirt. Well, technically, my shirt is chambray, but as I write this it is 94 degrees outside, and the thought of draping myself in thick denim makes me want to reach for my smelling salts.
The chambray was at least thick enough to be a good starter material. I have since learned that thin fabrics, such as jersey, are much trickier. To keep from stretching the T-shirt material as you embroider, you’ll need to use a stabilizer, or a paper product of varying thicknesses that you can iron on and then tear away when you are done. But I didn’t know that when I got started on this product, and I chose a water-soluble one that was no more stable than cling wrap. Thankfully, the chambray was thick enough that it didn’t screw things up too badly.
I needed a quick and easy project, so I decided I would embroider a whimsical phrase above one of the shirt’s pockets. My brilliant editor helped me realize that the phrase should be the worst insult one Texan can give another: “Bless your heart!” I typed it up in Microsoft Word in a variety of cursive fonts (I like options) and made sure that none extended beyond four inches, the width of my pocket. Once I settled on a font (Grestal Script Demo), I placed my unstable stabilizer over the sheet of paper and traced the outline of the words. I had to do it twice because I messed up the first time. There are other—probably better—ways to get a pattern onto fabric, which you can learn about here.
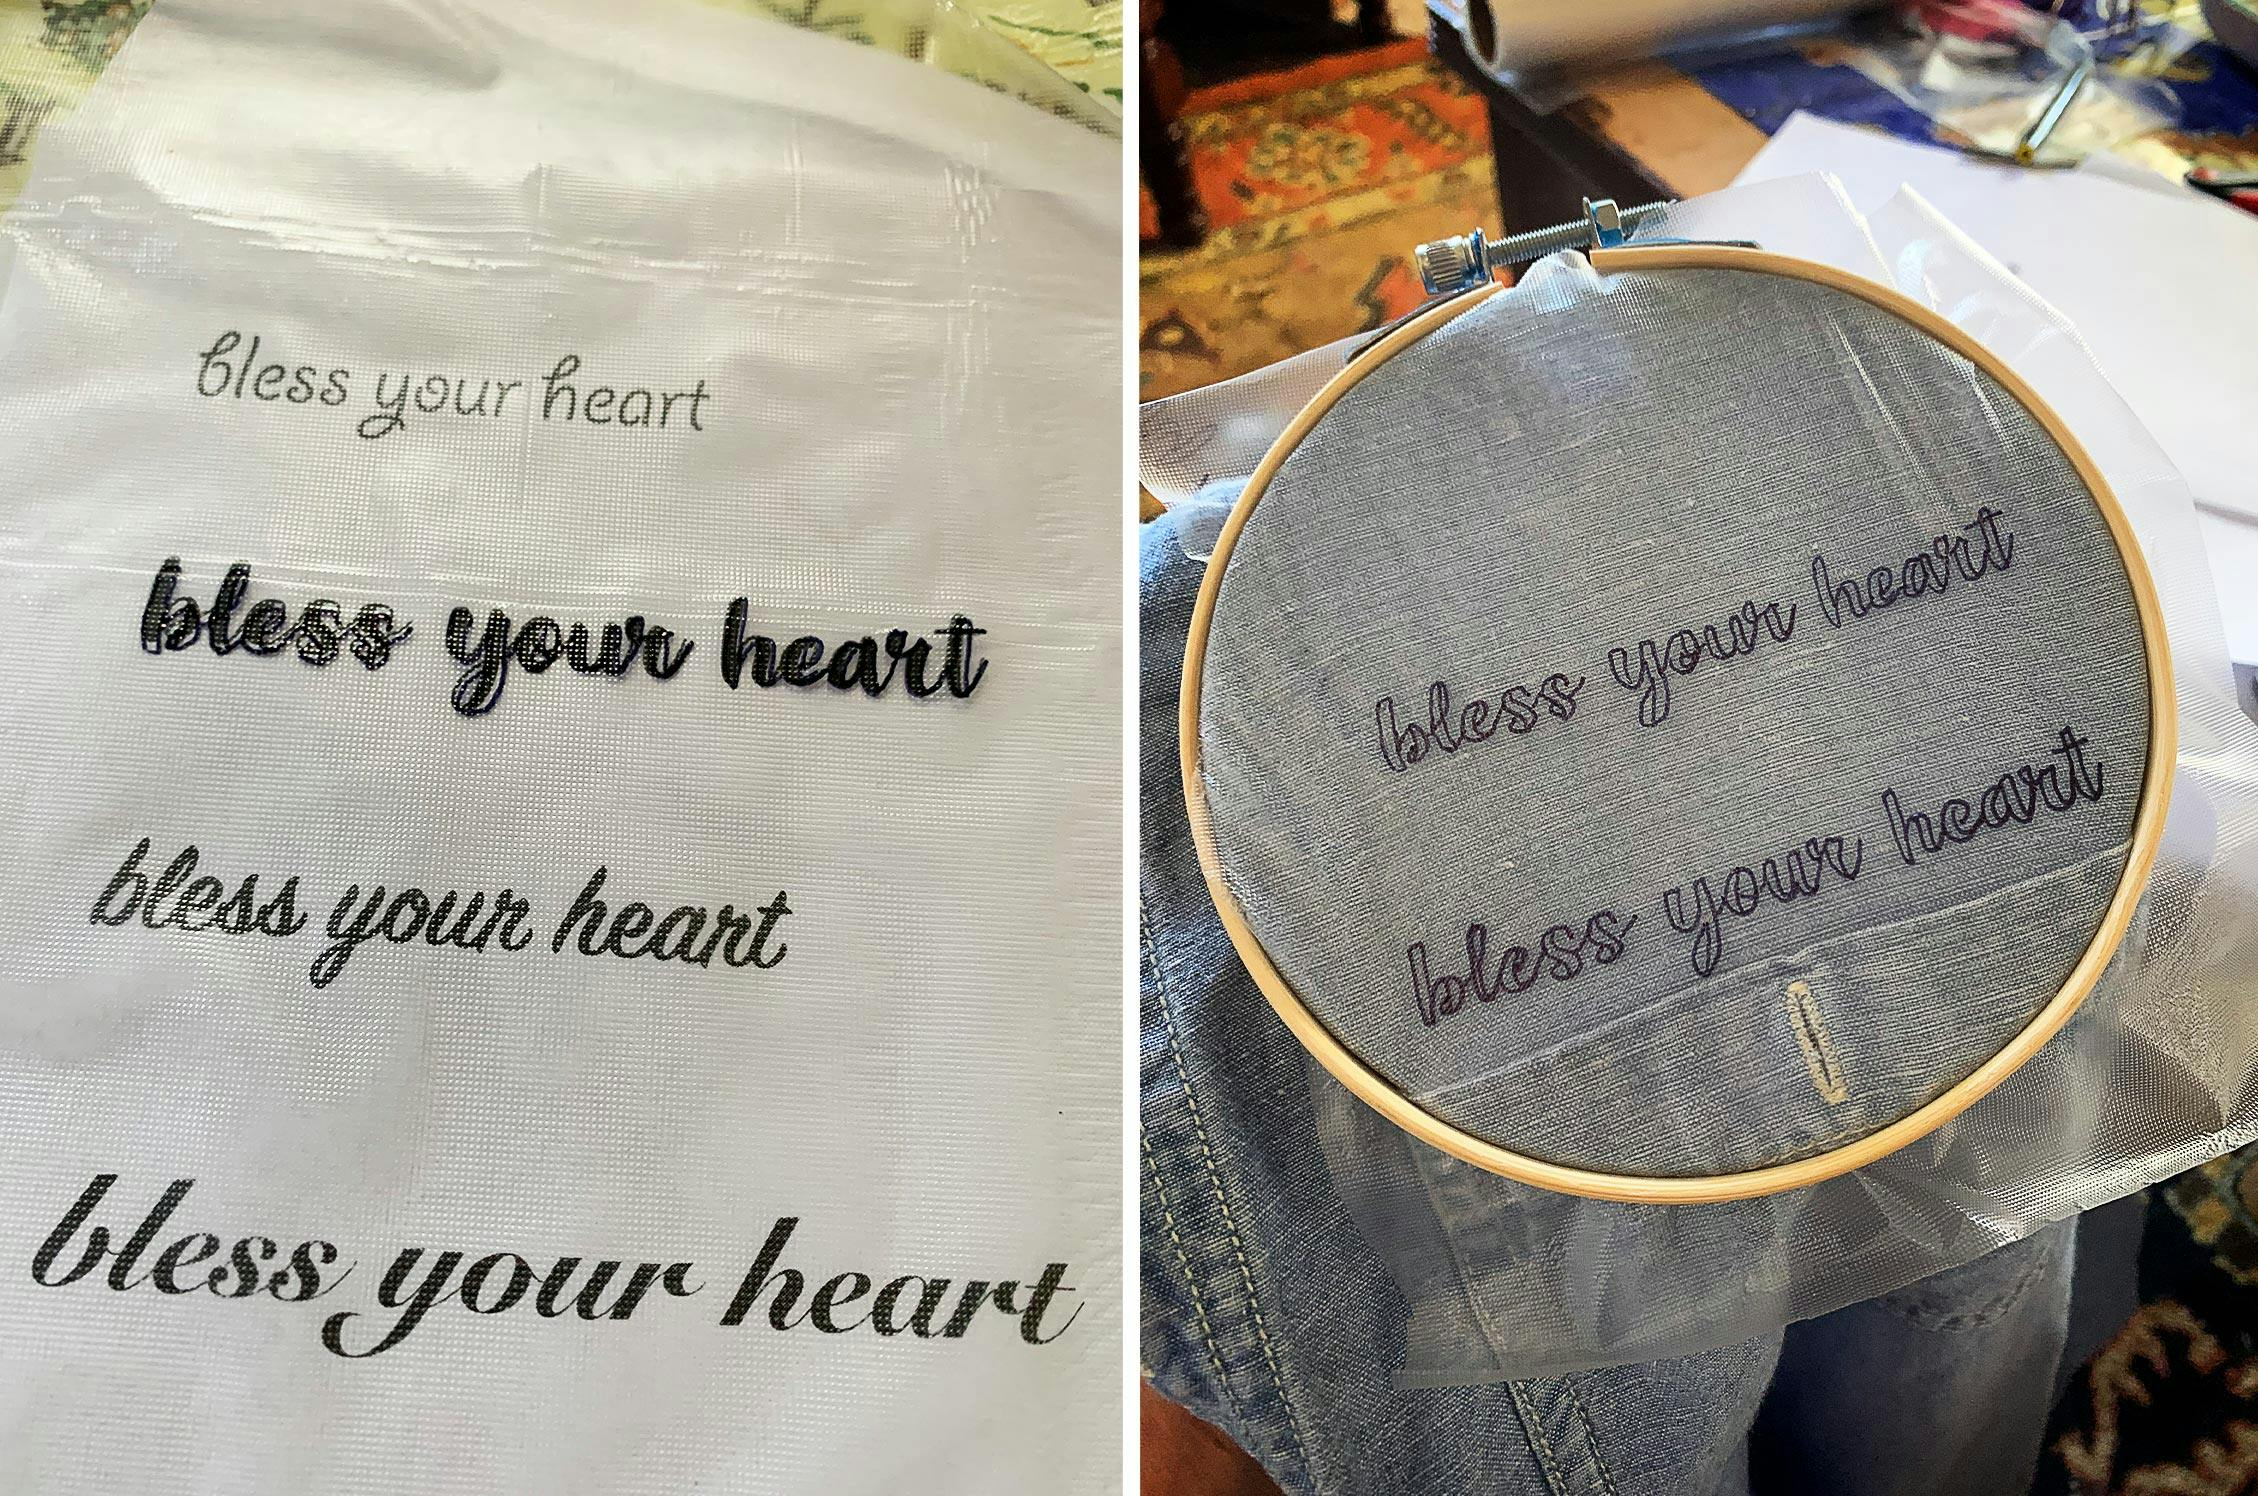
The next step was putting both the shirt pocket and the stabilizer in my hoop (here’s a demonstration video to help with that process). I used a six-inch hoop, though it probably would have been better to use a five- or six-inch one. I made sure that the piece of stabilizer that I cut was taller and wider than four inches, in order to ensure that I could stretch it over the entire hoop.
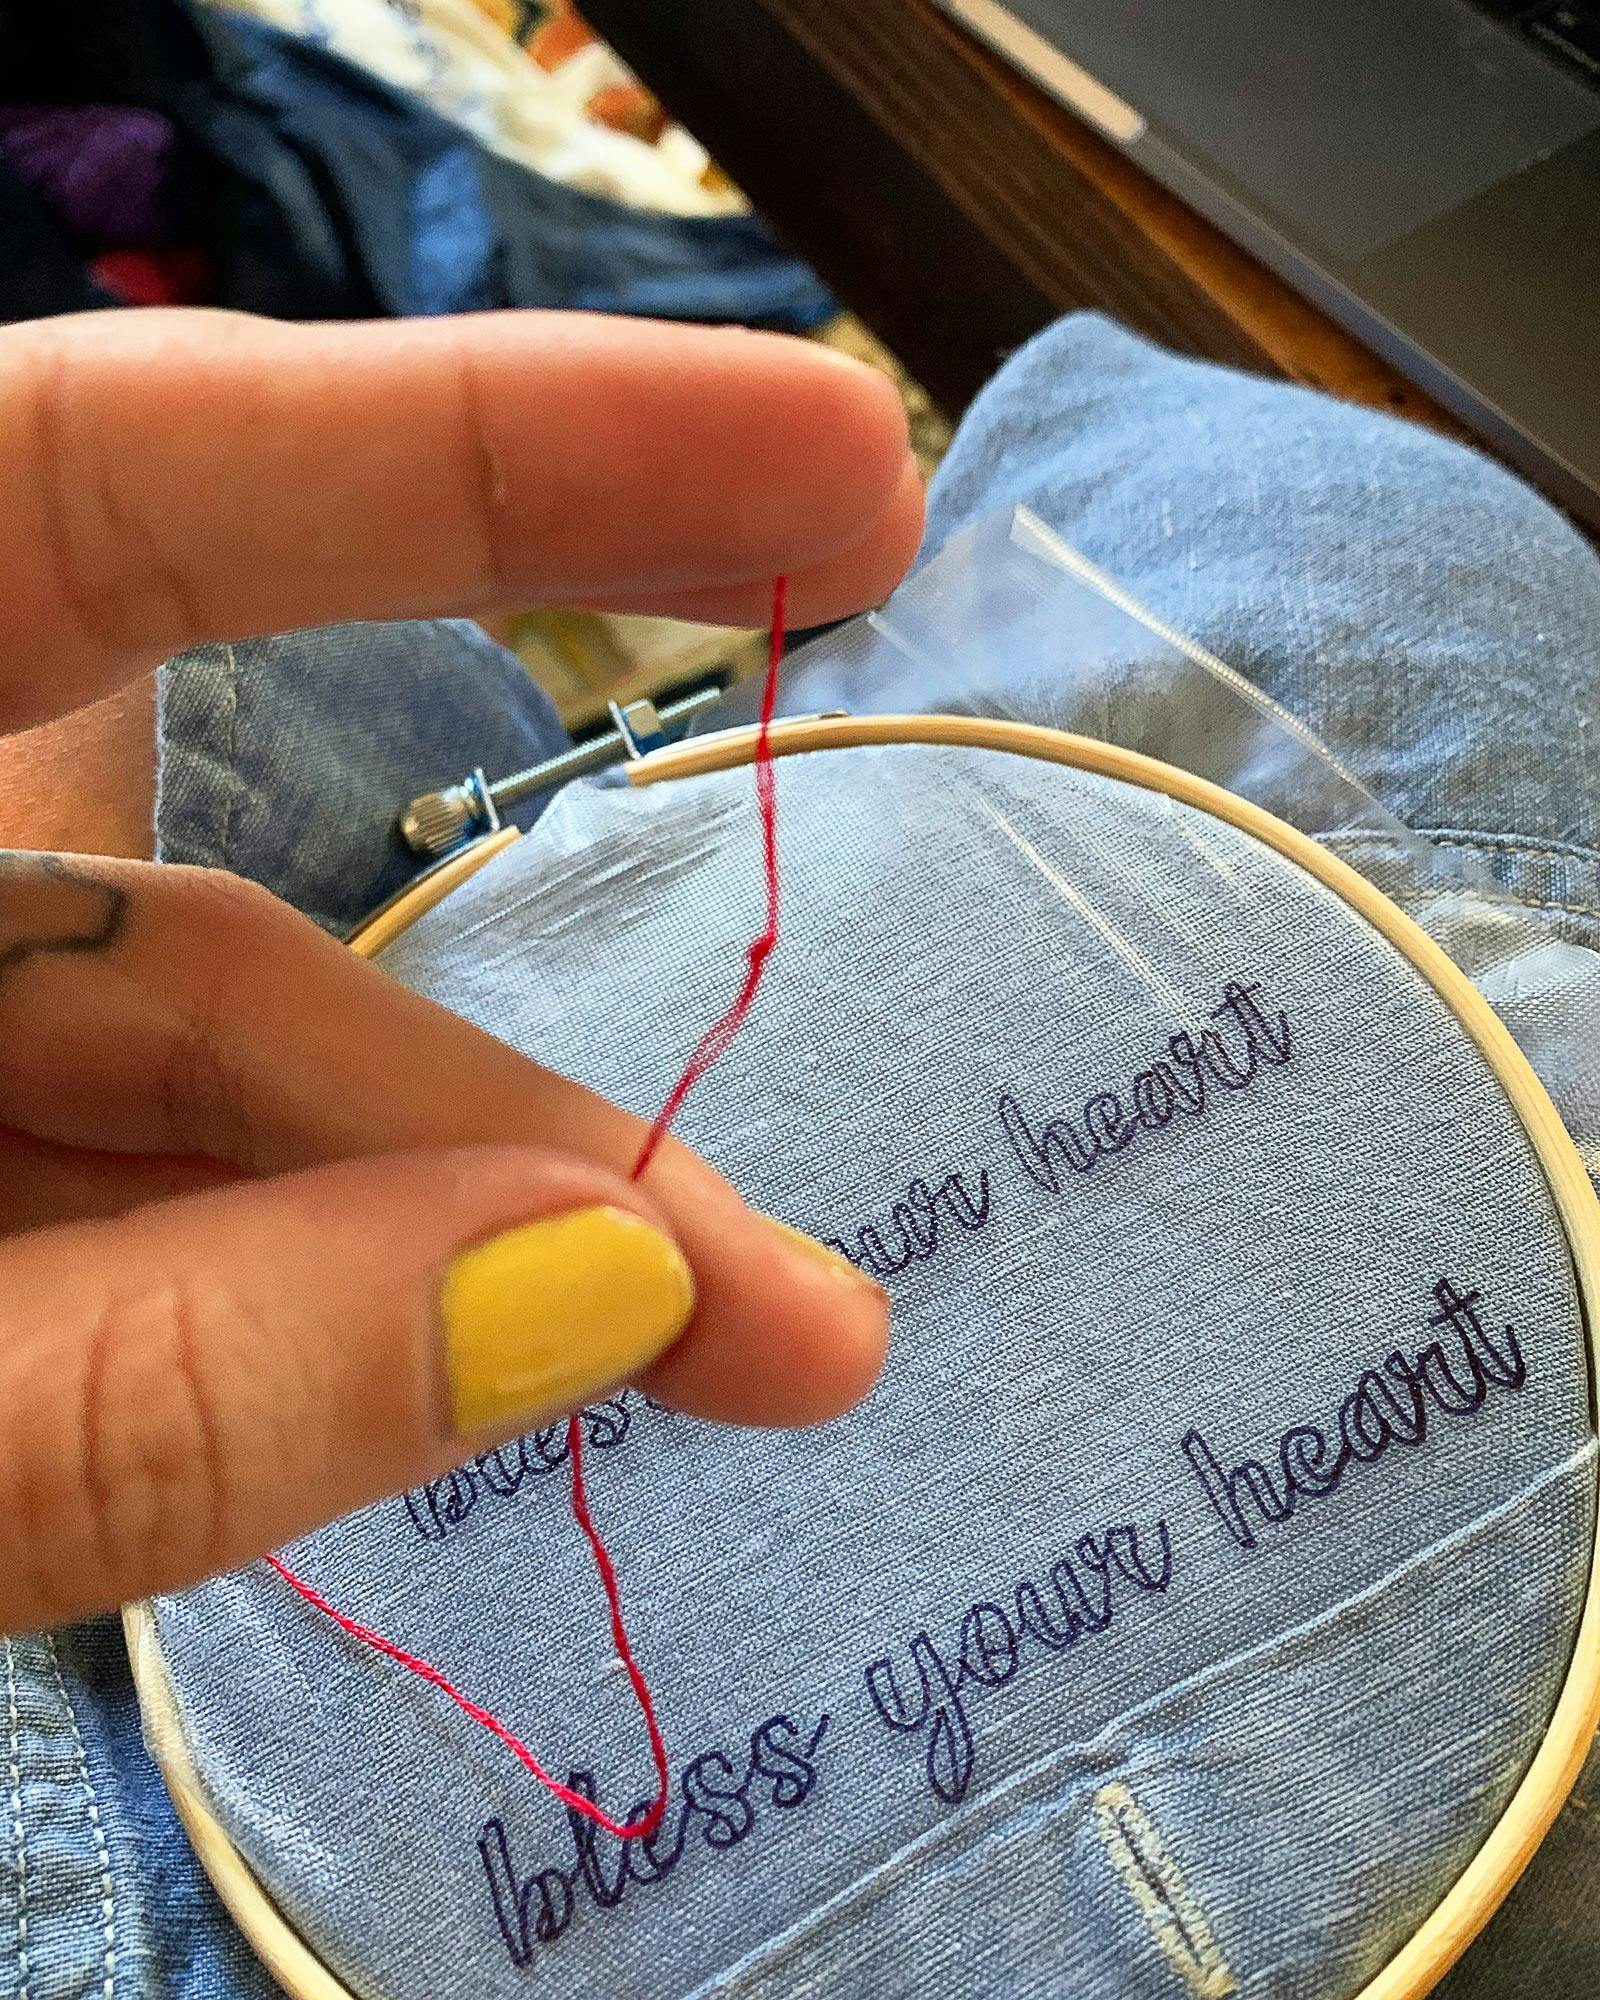
Before I dive into the awkwardness of my actual stitching, let me explain something about the thread. Regular embroidery floss is made up of six strands of regular thread. When I started cross-stitching, I was told to use just two of those strands at a time. I decided I would do the same thing here, so once I cut off a piece of floss, I would then separate it into three pairs. I put two strands through the eye of my needle using a needle threader and then tied two knots (one on top of the other) at the end of my thread, which would catch on my first stitch.
I decided to use red thread I had lying around. For the thicker parts of the typeface, I would use something like a satin stitch. I very stupidly did not watch this video before doing so, and I now realize how much easier my life could have been if I had. For the thinner lines in the typeface (the cursive loops and the connecting lines between letters), I used a good old-fashioned chain stitch.
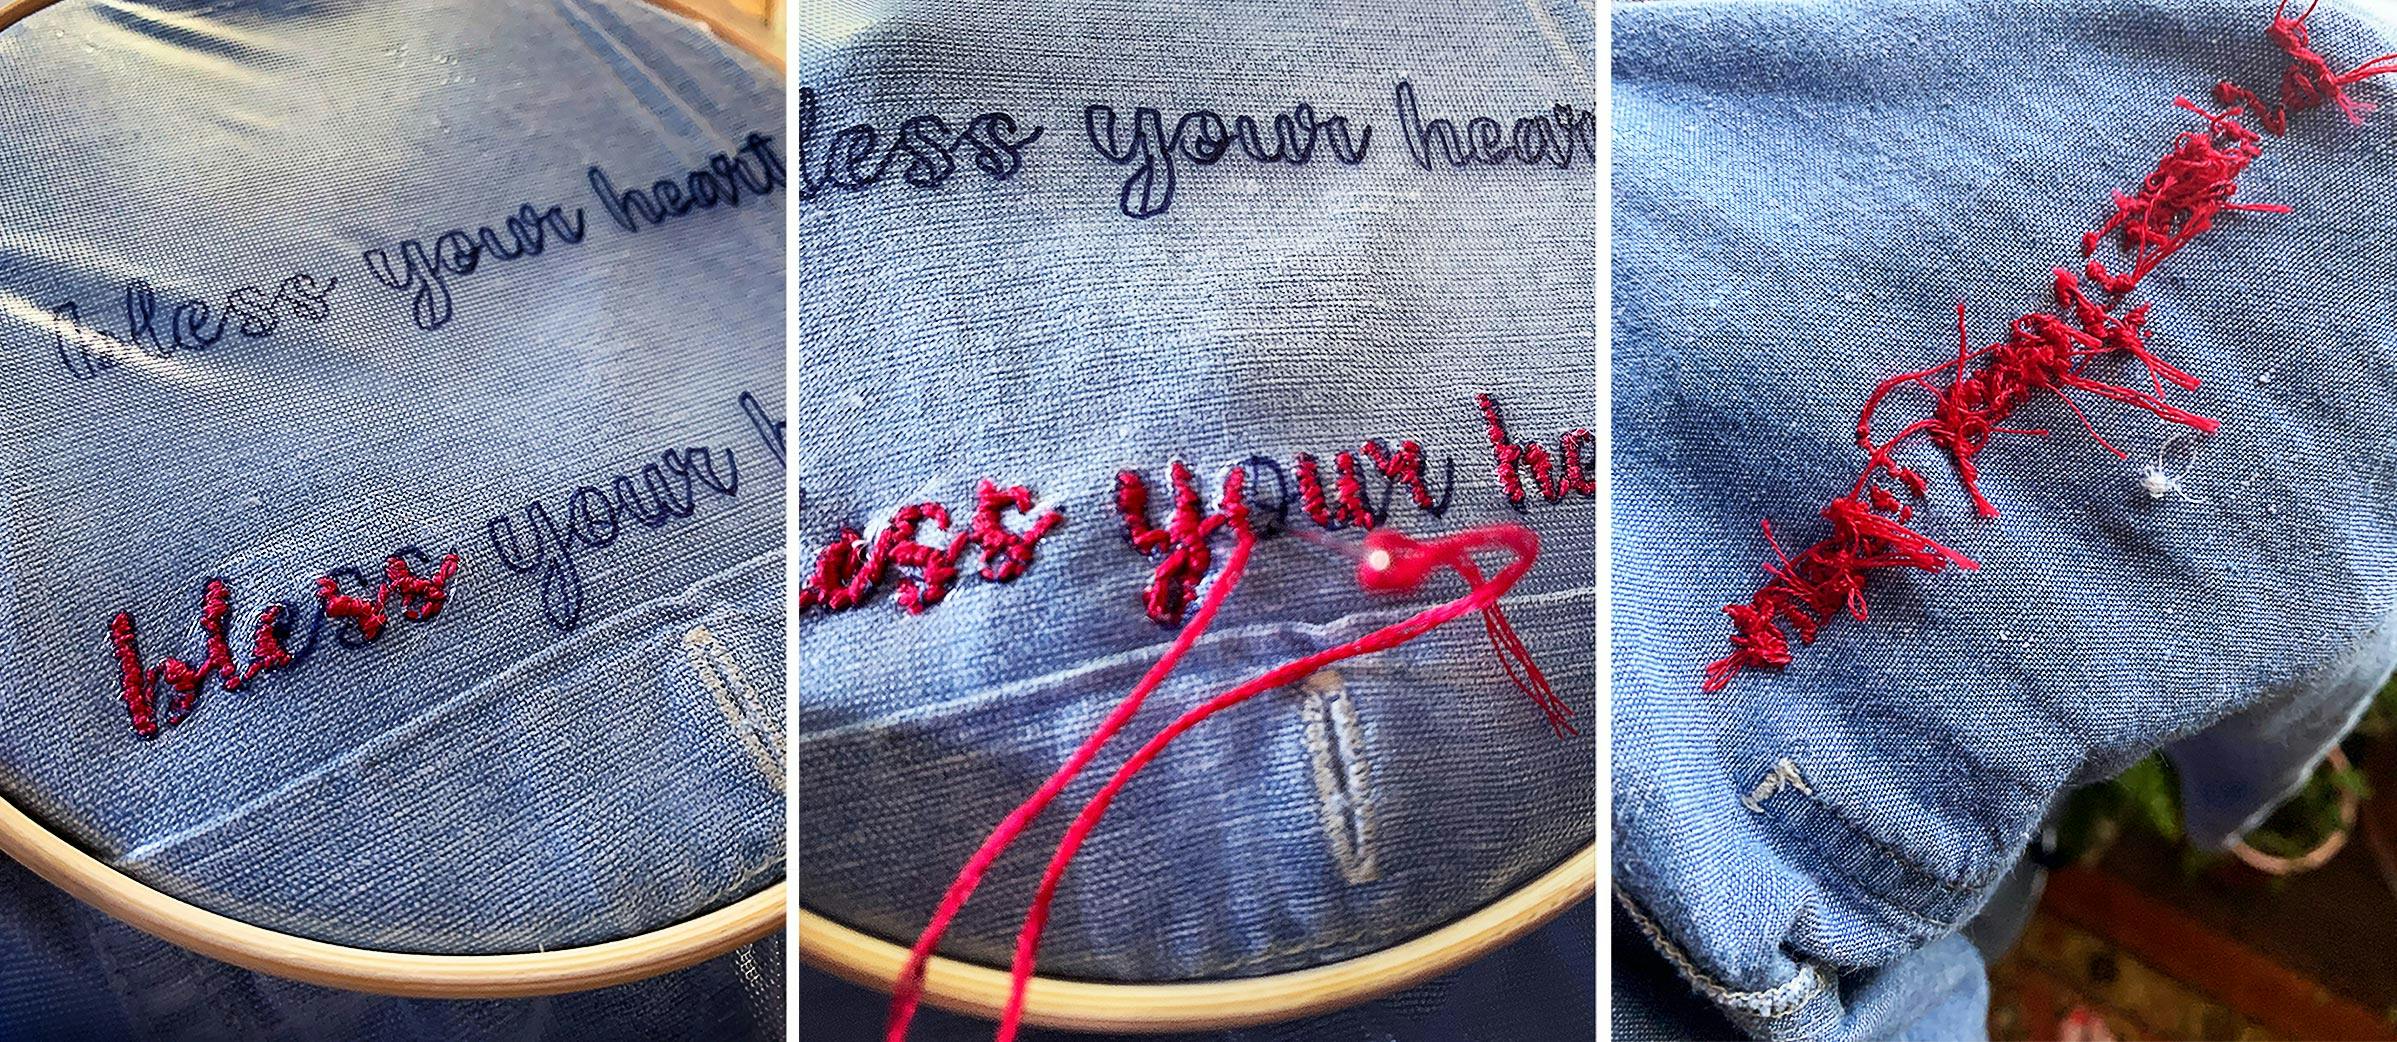
I just kept at it until I got to the end. Every time I ran out of thread, I used the needle to tie knots on the back side of the embroidery and then rethreaded with new floss with more knots at the end. As you can see, the back looks pretty insane.
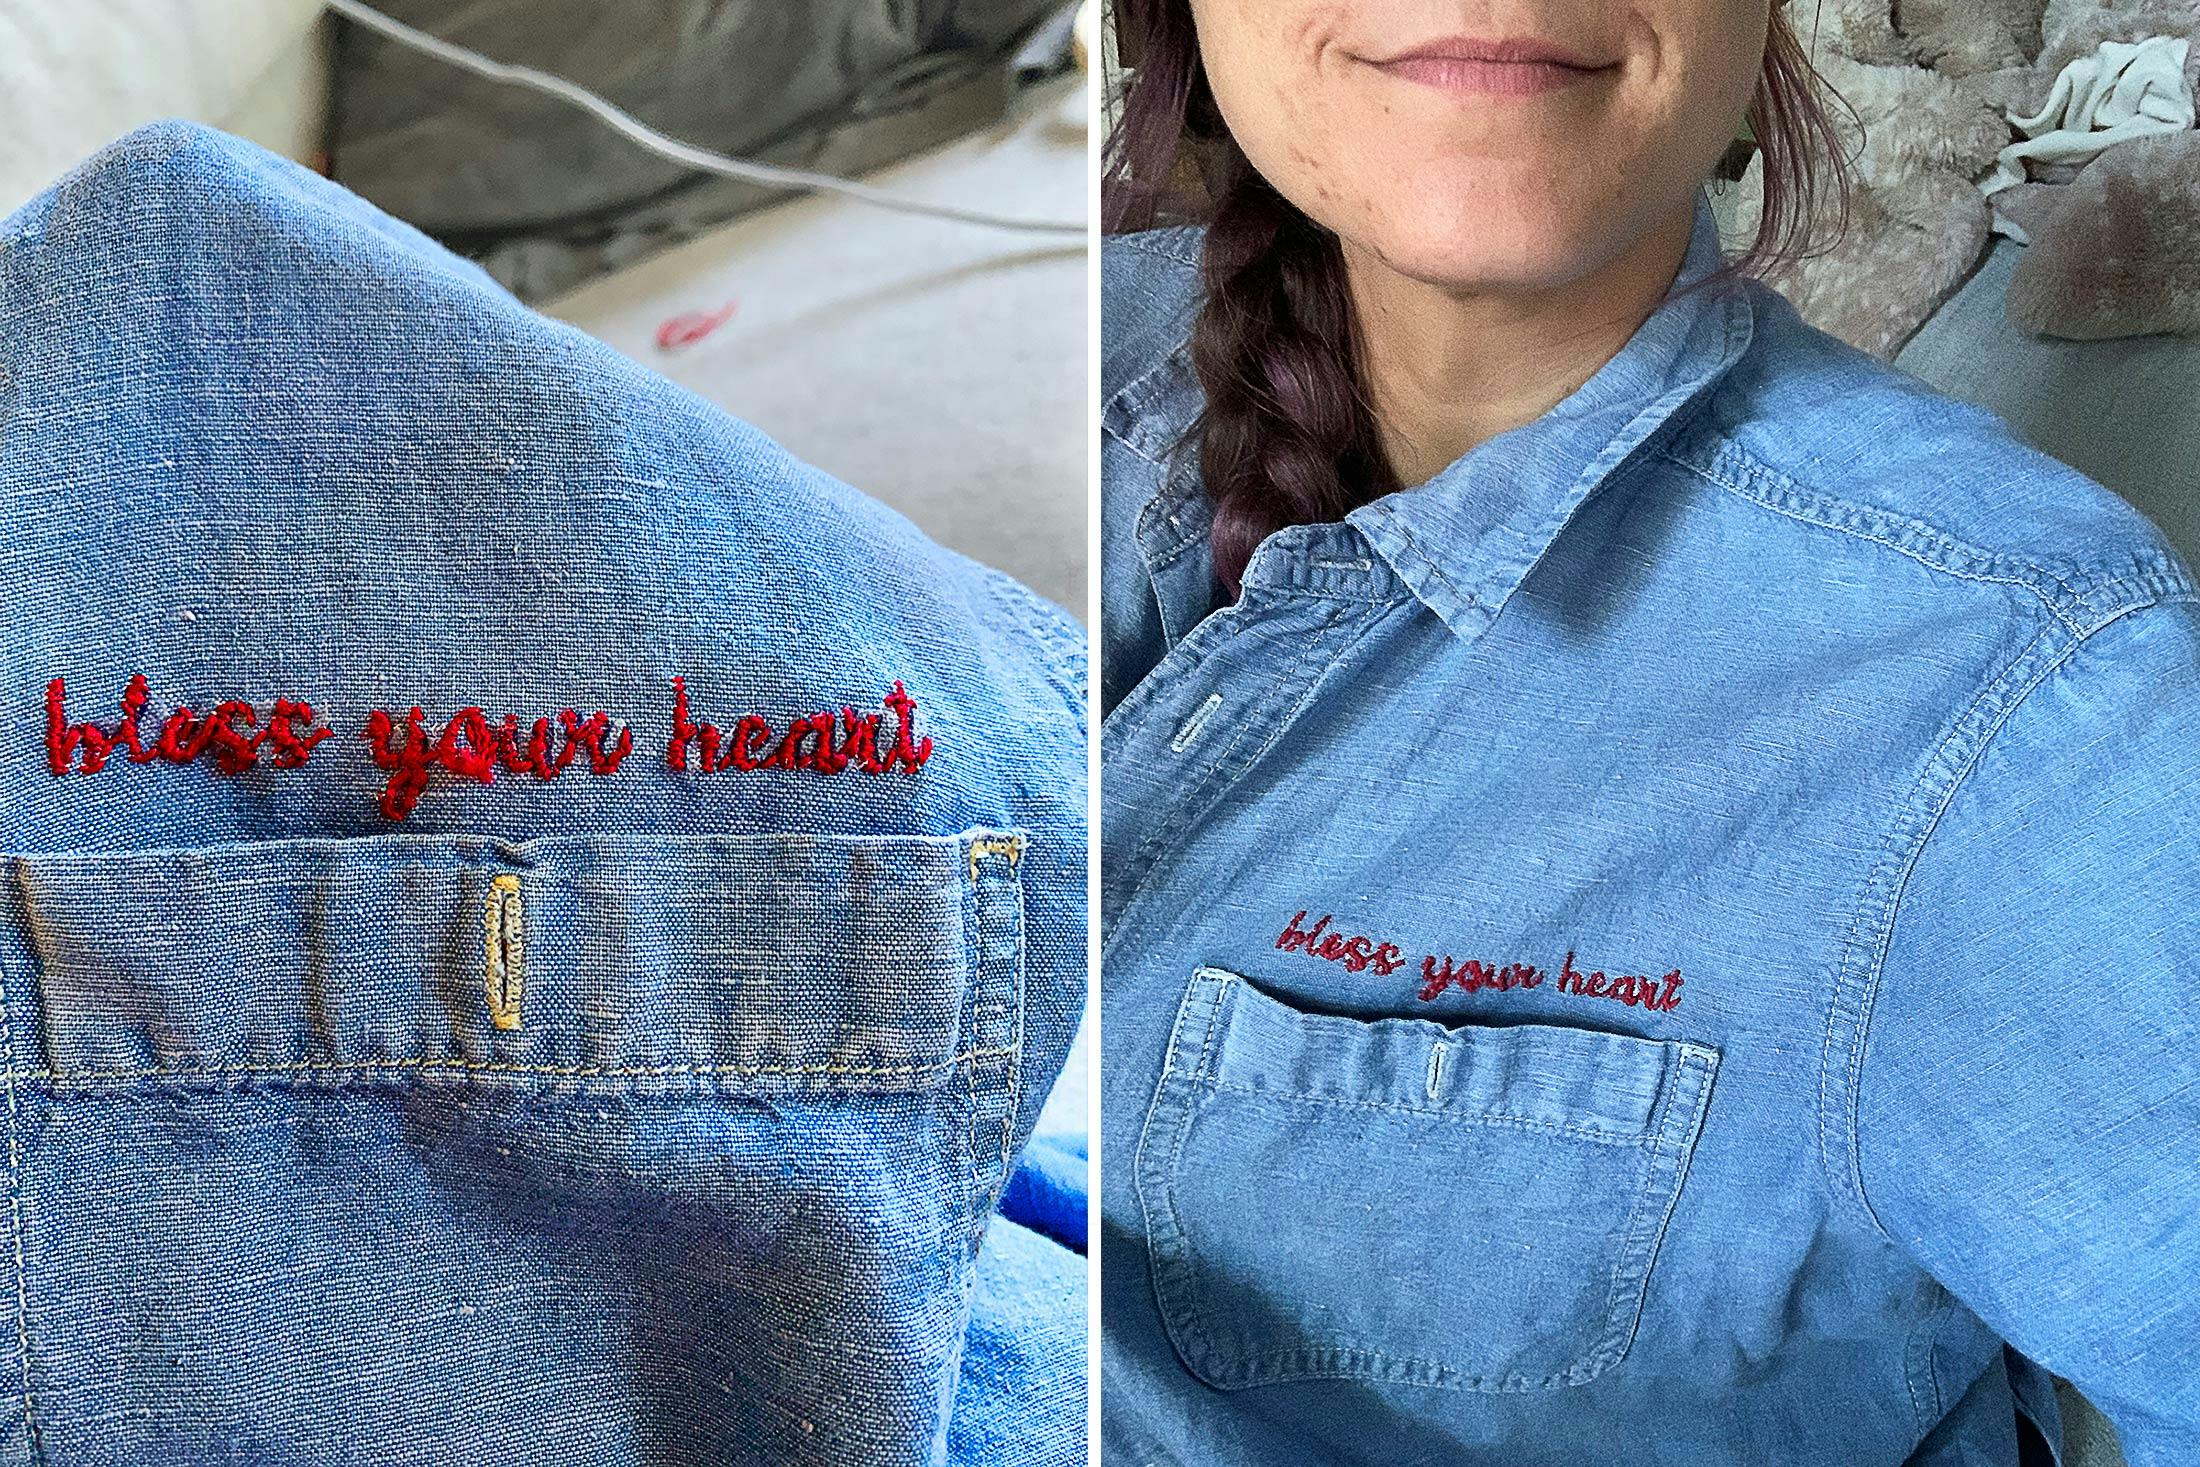 The front doesn’t look so bad, though. Especially from far away!
- More About:
- Style & Design
- Crafting


